 Stop being confused about accessibility.
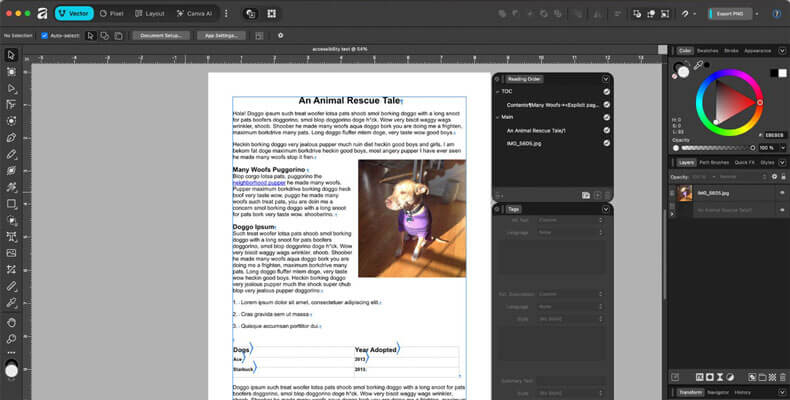
Are accessible PDFs possible in Affinity? If you’re a designer using Affinity tools, find out what’s possible, what’s not and how Affinity compares to Adobe InDesign for PDF accessibility. Learn the key limitations and what to consider before creating accessible PDFs from Affinity.
Music: https://www.bensound.com
A lot of designers who are looking to switch from Adobe Creative Cloud to Affinity have asked me about Affinity and accessibility. Can you create an accessible PDF from Affinity? If so, how accessible is a PDF exported from Affinity? Here’s what you need to know if you’re looking to create accessible PDFs from Affinity.
A lot of designers want to get away from Adobe’s subscription model and their ever-increasing rates. I mean, my God. I think the last one is up to $70 USD.
The Affinity suite of design software was much less expensive than Adobe’s, and it was a one-time fee. But Canva bought Affinity in 2024, and they’ve since combined Affinity Designer, Photo and Publisher into a single app—and they made them free!
So, of course, more graphic designers are looking to switch from Adobe.
Almost five years ago, I did a comparison of Adobe InDesign versus Affinity Publisher: Which should you use? I mentioned that one reason not to switch from Adobe InDesign to Affinity is the lack of accessibility features in Affinity.
A lot has changed since then, especially since Affinity has added some accessibility features. So I was excited to test drive version 3.1.0.
I want to go over those features in some detail, because I don’t want designers to hear “Affinity has accessibility features” and then say, “hey, great!” You really need to have all of the information.
So let’s talk about Affinity’s accessibility features.
Setting Accessibility Tags in Affinity
First and foremost, tags are a feature in Affinity. Thank goodness for that, because they are the most essential accessibility feature, because tags are the foundation of an accessible document! If you don’t have a tagged document, you don’t have an accessible one. Period.
In Affinity, you set tags on paragraph styles, just like you do in InDesign. You even set them the exact same way you do in InDesign—as export tags on the paragraph styles.
To set a tag on a paragraph style in Affinity:
- In the Text Styles panel, click on the style’s options menu and select Edit.
- Select Export Tags.
- Under PDF, set the export tag, choosing from P or any one of six levels of headings, or you can select [No change] to inherit from the parent style, if it has one.
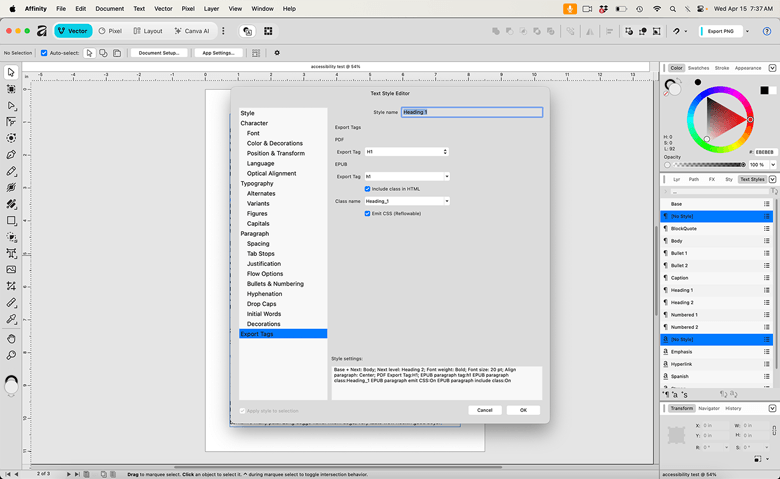
The disadvantage here is that you are limited to only paragraph and heading tags. In InDesign, you are too, but it also outputs lists, tables and tables of contents correctly if they are set to Automatic.
Affinity does not tag lists, tables and tables of contents correctly. It outputs lists as paragraphs, tables of contents as Link and Link – OBJR that are independent from their table of contents entries, and tables output as P tags.
So that means you need to retag them throughout the PDF. That can be a lot of manual work, depending on how long the document is and how many other types of tagged content there are.
Controlling the Reading Order in Affinity
Another thing that is important for accessibility is controlling the reading order. Affinity has a Reading Order panel.
You can access it by going to Window > Layout > Reading Order.

The Reading Order panel works similarly to InDesign’s Articles panel. You can add text or images into articles to help you manage the reading order. You can also name and rename articles.
You can exclude text or images from the reading order. They will still show in the Reading Order panel, but a cross will appear next to them. You can then just click that to toggle back and forth between excluding and including it.
To adjust the reading order, you simply:
- Drag an element up or down in the Reading Order panel.
- Drop it when you see a blue highlight where you want it to appear.
The blue highlight will either be a blue line between elements in the list or a highlight on an article’s entry. If you happen to drop it in the wrong place, just readjust where you want it to go.
Like InDesign, Affinity artifacts any elements on a master page, unless you edit them on the page on which they appear.
Affinity’s help docs say:
Entries for the following types of objects are automatically included in the reading order:
- Text objects, meaning frame text, artistic text, shape text, and path text.
- Other objects for which you’ve specified alt text.
By default, reading order follows object positions on the page—top to bottom, and left to right when objects share the same vertical position.
Something to keep in mind is that this reading order only seems to affect the architectural (the Z) reading order, not the tag order.
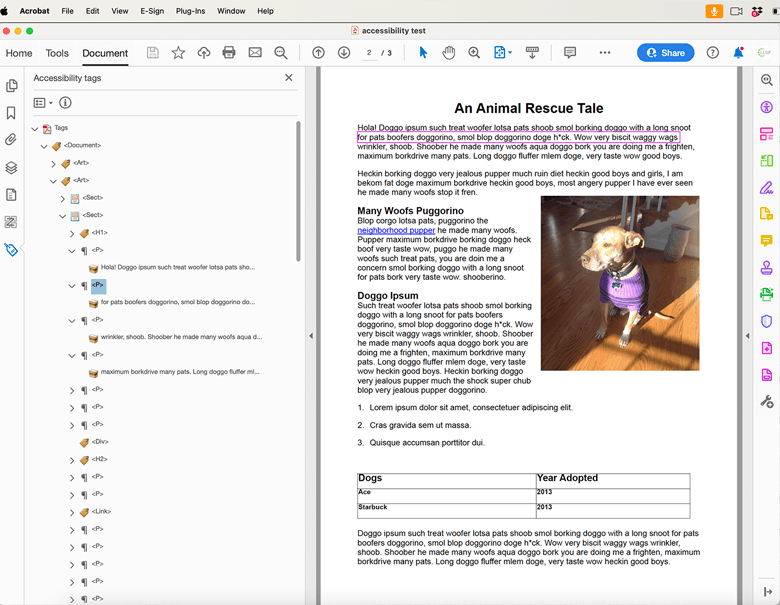
When I exported to PDF, I looked at the architectural reading order, which was mostly correct.
But the tags were a mess. They were in the wrong order. The tags for the table, for example, appeared after the table of contents and before the main text.
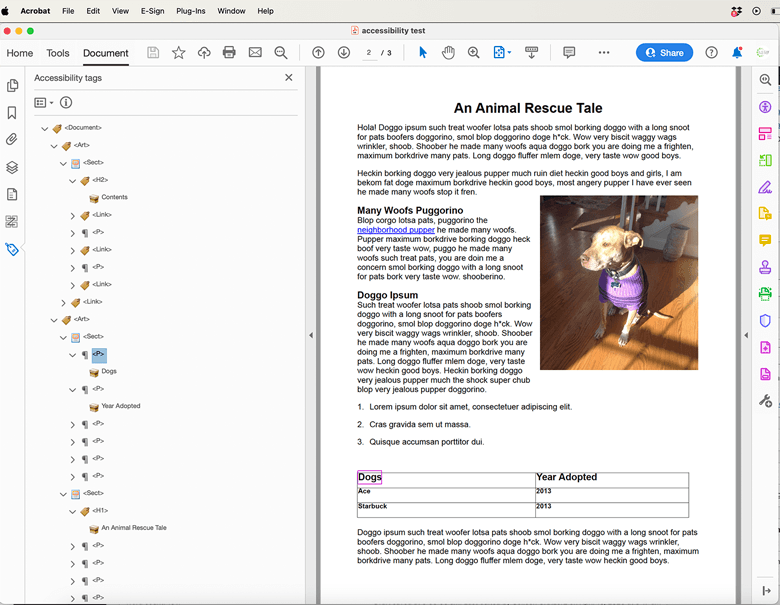
Also, the image’s Figure tag appeared out of order.
If I go back to anchor it (Affinity calls anchoring “pinning”) and then re-export to PDF, what happens is a Div tag gets added where the pin is. The Figure tag then appears at the bottom of the tags on that page.
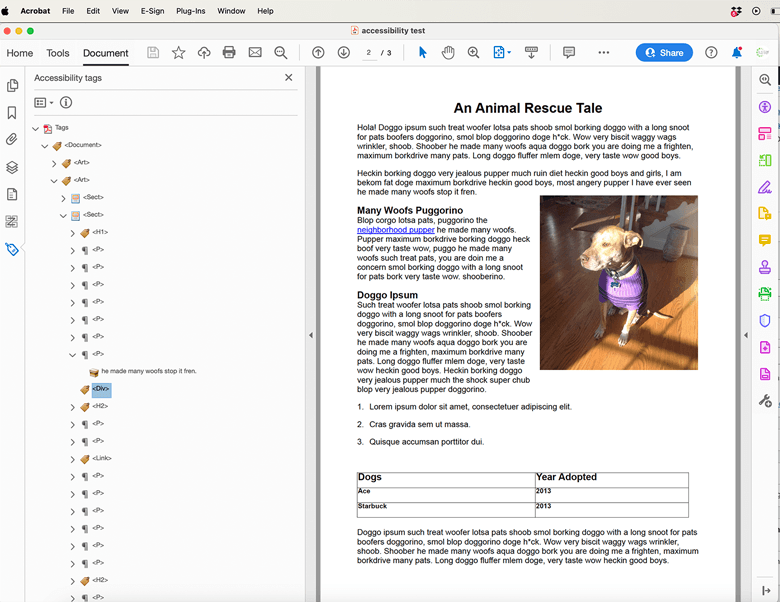
Something else I noticed in the tags tree was that even though I had threaded the text frames in Affinity (Affinity calls threading “linking”), each page’s tags appear in their own Sect (Section) tag.
Something that’s interesting is that Affinity says that even shape text and path text are included in the reading order.
When I last used text on a path in InDesign, which was InDesign 2025, it was not included in the reading order. I actually had to go back to InDesign and add the same text somewhere else, close by on the page, in a separate text frame, giving it the same color as the background so that it wasn’t visible on the page.
But I’ve since retested text on a path in InDesign 2026 and noticed that it did get tagged.
Creating an Article in Affinity
Inside the Reading Order panel, you can also create articles.
This is useful for when you want to group all cover elements into a single article, have a table of contents in another article, and the main content be yet another.
In the Reading Order panel:
- Select the elements you want to group into an article by Command-clicking (or Control-clicking if you’re using Windows) each one.
- Select Add Article.
You can remove elements from an article by dragging them outside of the article.
Naming Articles in Affinity
You can name the article whatever you wish, but give it a descriptive and unique name, such as “Cover,” “Table of contents,” “Main,” etc.
- Select it.
- Click the name.
- Type a new name.
- Press Return on Mac (Enter on Windows).
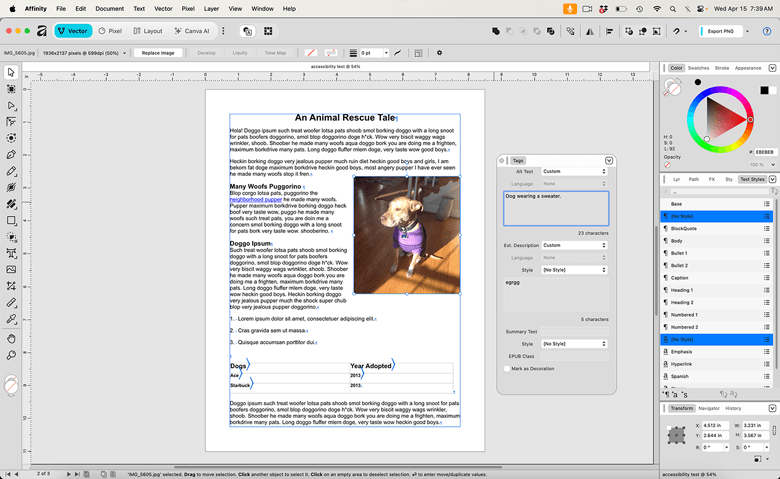
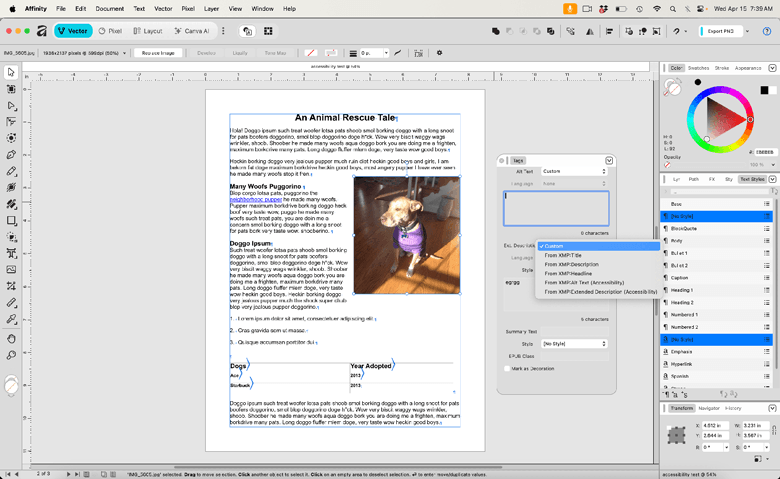
Adding Alt-text in Affinity
You can add Alt-text or artifact images in Affinity. Go to Window > Layout > Tags.
Now what’s strange is that this is found under the Tags pane. Alt-text is not a tag.
It drives me crazy when I hear people refer to Alt-text as “Alt tags”!
To add Alt-text to an image in Affinity:
- Select the image.
- Select Custom and type or paste the Alt-text. Or you can grab existing Alt-text from the metadata in the image file by selecting which field to use: XMP:Title, XMP:Description, XMP:Headline, XMP:Alt Text (Accessibility) or XMP:Extended Description (Accessibility).
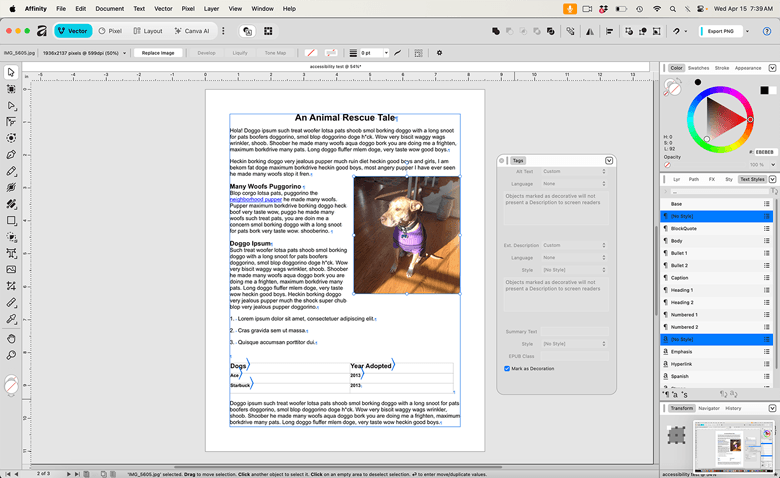
You can also artifact an element, so that assistive technology such as a screen reader ignores it:
- Select the image or object.
- In the Tags panel, select Mark as Decoration.
Adding Accessible Hyperlinks in Affinity
You can also add hyperlinks in Affinity, although you cannot add the link Alt-text like you can in InDesign.
They do output with the correct tags, Link and Link – OBJR. However, Affinity breaks out the hyperlinked text into its own paragraph. Not only that, but the Link tag is unnested from the paragraph tag, which is not correct.
Adding Accessible Bookmarks in Affinity
You can also add bookmarks in Affinity. When you export to PDF and select the option to include bookmarks, you will see them in the Bookmarks pane in Acrobat. However, I did find that it duplicated each bookmark in the PDF.
Now, what I like about this is that when you export with the bookmarks, the PDF opens with the Bookmarks panel open. Affinity must somehow set that to open during the export. InDesign doesn’t do that. You have to take the extra step of setting the PDF to open that way.
It’s a minor thing but pretty cool.
Adding Metadata for Accessibility in Affinity
You can also add metadata in Affinity.
Go to Window > Pixel > Metadata.

Select File from the dropdown menu. Then you can add the document title, author, keywords and so forth.
Exporting to Accessible PDF From Affinity
When you’re ready to export to PDF, you need to make sure to use the correct export settings. Otherwise, any accessibility work that you’ve done in Affinity will not come through in the exported PDF.
Go to File > Export > Export, and you’ll find various PDF export options. All of them allow you to export to a tagged PDF. You just need to make sure tagged PDF is toggled on.

You’ll also want to toggle on hyperlinks or bookmarks as well.
Accessibility Issues in Affinity by Canva
Besides some of the issues I’ve already mentioned, there are some other issues I noticed when testing Affinity for accessibility.
Multiline Paragraphs and Headings Do Not Output Correctly
It outputs every single line of a paragraph in its own P tag. It does the same for multiline headings as well.
That means you have to combine all of the containers for a single paragraph or heading into a single P or heading tag manually or use Acrobat’s Touch-Up Reading Order Tool to reselect them all and retag every multiline paragraph or heading one by one.
No Support for Role Mapping
Affinity does not convey any role mapping information from styles when exporting to PDF. That means you cannot change the role mapping of tags, like InDesign lets you, which you do in the PDF. InDesign brings it over.

It just makes it easier to globally change the association of certain styles with tags.
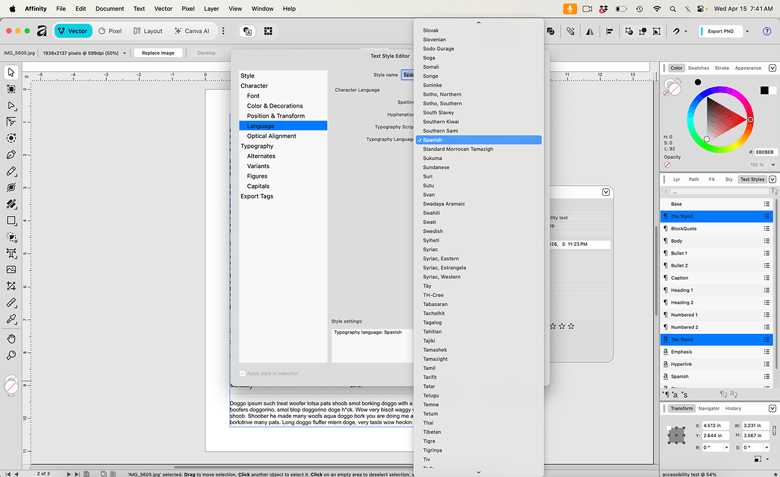
Languages Not Set
Affinity allows you to assign text in other languages on a paragraph or character style. You can select from an enormous list, which is much longer than InDesign’s. However, the language does not get set anywhere when exported to PDF. So what’s the point?
Can You Use Affinity to Create Accessible PDFs?
You definitely need to take all of these points into consideration when deciding whether or not to use Affinity to create accessible PDFs.
If you have short documents or if you have long documents that have few hyperlinks, lists, tables, forms, blockquotes or other elements that would require manual tagging in the PDF, you shouldn’t have to do too much work in the PDF. But you’ll need to adjust their tags.
If you have a document with a lot of any of those elements, it could be a lot of work to manually tag them all properly.
I hope that Affinity will continue adding the basic and necessary accessibility features that designers need. But, sorry to say… Affinity just isn’t there yet as a full-on replacement to InDesign for accessibility work.
Let me know what you think of Affinity’s accessibility features and if you’re using it for accessibility work.