 Stop being confused about accessibility.
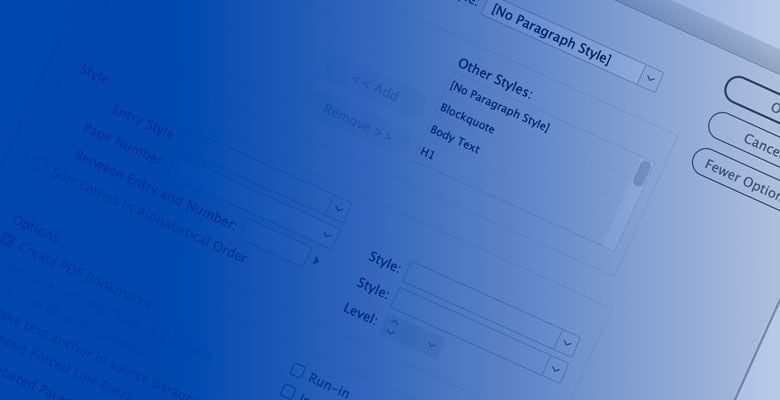
Many graphic designers avoid using InDesign’s automated table of contents feature. But there are several problems with creating a table of contents manually. Find out 6 reasons designers should use InDesign’s automated table of contents feature.
Music: https://www.bensound.com
Most of the time when I review graphic designers’ InDesign files, I see that they’ve built the table of contents by hand. I used to do this myself a long time ago.
I know you might think it’s too time consuming or maybe you’re not sure how to get it to work properly, or you just think tables of contents are a pain in the rear.
But there are several problems with creating the table of contents manually, especially if you’re working on a large publication.
1. Little Room for Error
One, manually creating a table of contents leaves room for error. It relies on you copying and pasting all the headings that should be included. You could miss one or two of them. You could mistype a page number.
If you ever have to remove or add pages in the layout process or a page moves because maybe you had to add a blank page, so a section would start on a righthand page, for instance, you’ll have to remember to go back to the table of contents and make the change yourself.
If the text of a heading changes, you will have to remember to go back and fix it in the table of contents too.
But when you create a table of contents using the built-in feature, you simply select which paragraph styles to include, and if a heading or a page number changes, you can select the option to update the table of contents. So there is little room for error.
2. Time Savings With InDesign’s Table of Contents Feature
A lot of designers think it takes too long to create a table of contents. You’ve got to use paragraph styles, which I know many designers don’t do. Then you simply pick out and add those styles, set up the paragraph and character styles you want them to use and choose whether or not you want to have the number appear before or after the entry.
I know creating a table of contents takes a few minutes, but you’ll save time in the entire layout process.
Having to make a change in two places—on the page where a heading appears and in the table of contents—is tedious. But worse is having to write down page numbers and go back and forth and type them in the table of contents. I know because I did that early on.
That can be really time consuming, especially with large documents. Who has time for that?!
You might as well have taken the time to build the table of contents right the first time, which isn’t a lot of time at all.
3. Flexibility
Different text for table of contents
But maybe you’re not using the table of contents feature because the text you need to use for the entries doesn’t quite match how those headings appear in the document.
For example, in a complex annual report I work on, the headings for the main sections need to have additional text before them in the table of contents that doesn’t appear on the pages themselves.
So what to do?
You can create a text frame on the pasteboard that has the text that you want for the table of contents. I don’t mean style wise. I mean text wise. So if you need to add other words to a heading you want in the TOC, then put there what you need it to say.
It doesn’t matter how it looks there. You can style it however you want in the table of contents setup.
The trick is to make sure the text frame on the pasteboard touches the page. Otherwise, it won’t be recognized.
In your table of contents setup, instead of choosing the paragraph style of the heading that’s on the page, choose what I call the “faux TOC heading” wherever you need it.
The caveat with this method is that if something in the on-page heading changes, you must remember to change it in the text frame on the pasteboard too.
Multiple InDesign documents in a table of contents
Maybe you aren’t using the table of contents feature because you have more than one document in a publication. Maybe you’re working on one section and someone else is working on another.
It’s not only possible; it will save you even more time. All you have to do is create what’s called a “book.” Go to File > New > Book. Then add the InDesign files to the book.
Open the InDesign files and the book. Then go to Table of Contents Styles, select that TOC and then Edit. Just check the box that says “Include Book Documents.”
Multiple tables of contents in InDesign
Now, what if you have multiple TOCs in your document? I’ve worked on large reports that have had three tables of contents! They had the main one, then one for a subsection and another for another subsection.
Easy peasy! Just go into the table of contents feature (Layout > Tables of Contents Styles) and then select New to create a new table of contents.
4. Bookmarks
Another benefit to InDesign’s table of contents feature is that you can have it automatically generate bookmarks. When you’re in Table of Contents Styles, just check the box that says “Create PDF Bookmarks.”
Now if you don’t know what those are or why they’re important, let’s talk about that for a second.
Bookmarks are what you see when you open the Bookmarks panel in Acrobat. They are clickable links. You can set the Bookmarks panel to automatically open when a PDF is opened by going into File > Properties (Cmd- or Ctrl-D) and then Initial View and then Bookmarks Panel and Page.
This is all in the PDF. Just make sure to save the PDF and reopen to see the bookmarks.
You can, of course, add all these bookmarks in the PDF manually in Acrobat—either one by one or by going to the Bookmarks panel and then its menu and selecting New Bookmarks From Structure and selecting a style used in the document.
But then what happens when you have to go back to InDesign and re-export the PDF? You have to create the bookmarks all over again in the PDF. That can be a ton of rework!
5. Usability
Another benefit to using the built-in table of contents functionality is that you get a clickable table of contents in your exported PDF. You can do this with the interactive setting or even with the print setting, as long as you check the box for hyperlinks when you export.
You can also generate a table of contents and place it on the pasteboard, for the sole purpose of ending up with bookmarks in your PDF but not a visible TOC. It does the work for you, and you don’t have to add a section or page with a table of contents.
6. Accessibility
Another benefit is accessibility. To properly set up a table of contents for accessibility, use the automated table of contents feature along with setting the export tags of the paragraph styles used in the table of contents to Automatic.
This will ensure that the table of contents gets tagged properly in the PDF and functions as it should for assistive technology.
Conclusion
So now I’d love to know: Did I change your mind about the automated table of contents?
 Learn More About InDesign and PDF Accessibility
Get a list of InDesign and PDF accessibility tools to help you make your documents accessible and to save you time.
Yeah i remember years ago i did it manually a couple times because it didn’t like the time needed to setup a TOC. But once i understood the process, its so nice. I still need to go back and open old files now and then, i sometimes forget why something is working as i like it to be.
But once you work out all these small issue, its so nice to work with them. Like you said the automated bookmark creation, no errors to pages and links them all automatically in PDF files.
Its also very handy for making interactive PDF, which also work fine in print PDF.
Yes, definitely! Thanks for your comment, Rombout.